

How the project started
Tired of replacing defect lamps and adapters of our tree Magiker lamps, we were searching for something else and came across Dioder.
We bought the lamp but found out Dioder would light our books too direct. After looking at the old Magiker lamps I decided to see if I could combine the two lamps.
Stripping Dioder
First I took apart the Dioder lamp because I wanted to keep the option to put in only one ore two Magioder lamps. I decided to use the connectors end the LED part (main board) of the original Dioder lamp.
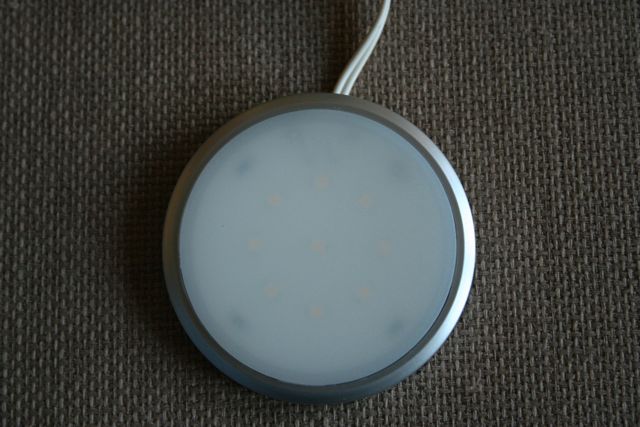 The front of one lamp.
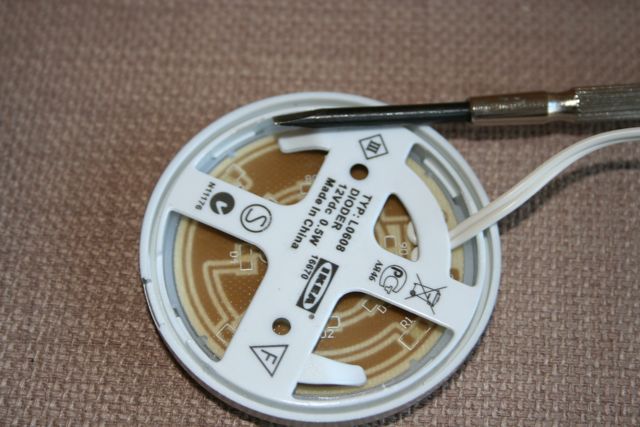 The back of one lamp, turn the transparent part to separate the two.
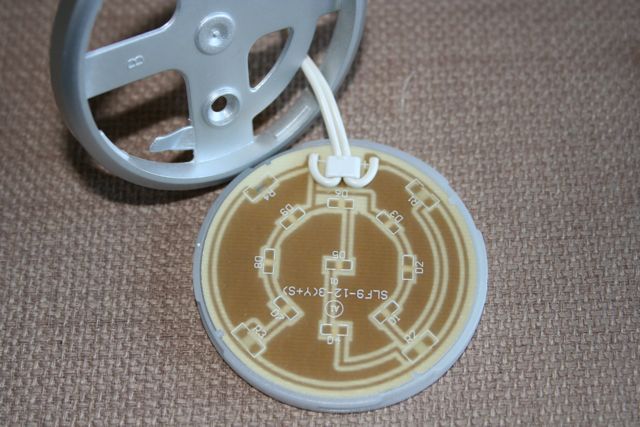 Now you can separate the transparent part from the main board by placing a small screwdriver around the tips holding it in.
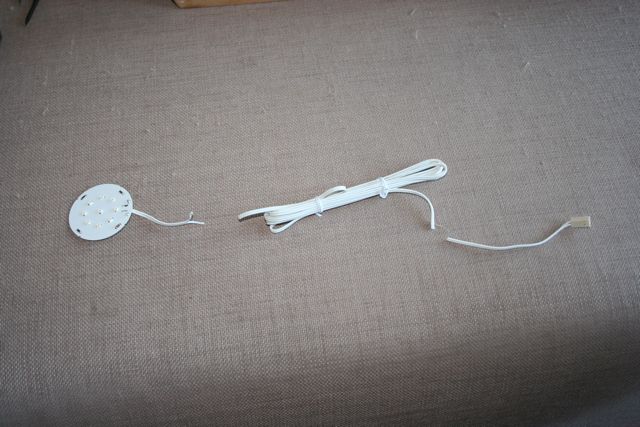 You only need the end connector and the main board.
The Magiker lamp was up next
From Magiker we need the cord and the shell of the lamp.
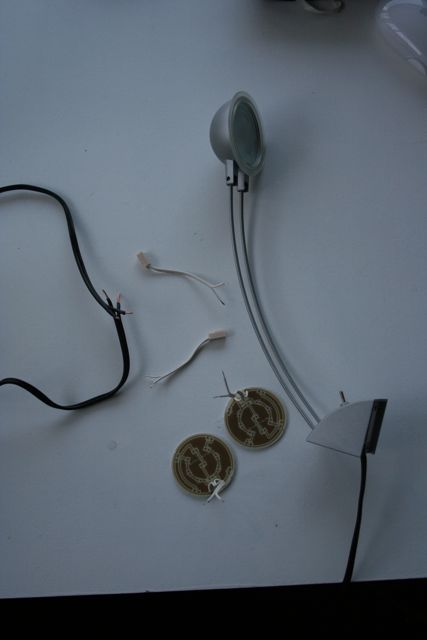 Cutting off the end connector of Magiker.
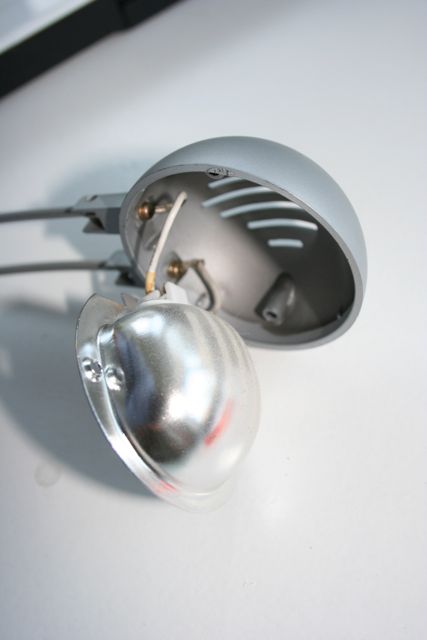 Taking Magiker apart.
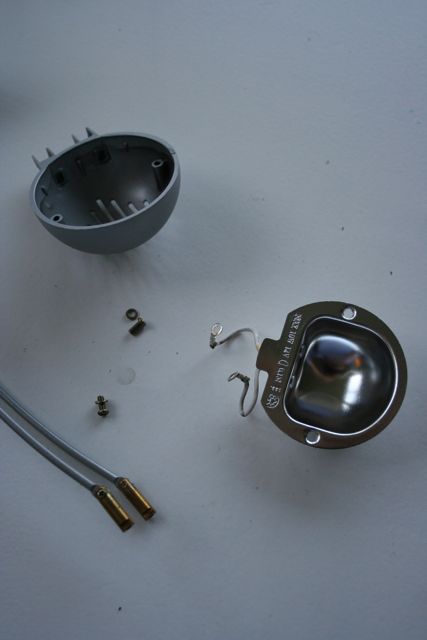 Taking Magiker further apart.
Magioder is taking shape
Now we can start putting the pieces back together.
Connecting the Magiker connectors to the Dioder main board.
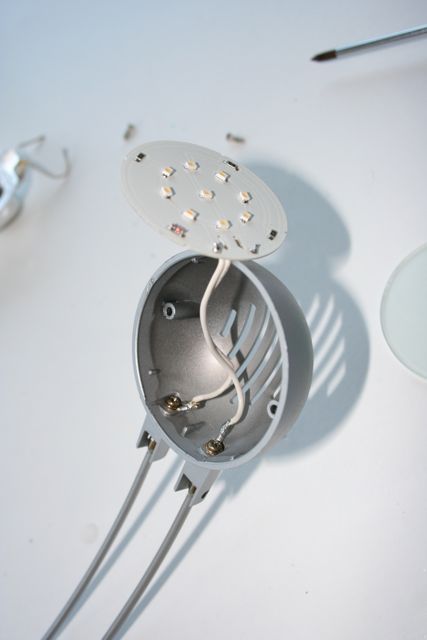 Place the Dioder main board in the Magiker case.
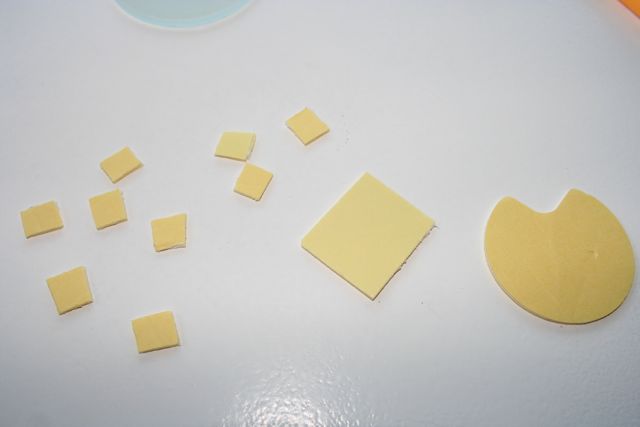 Cut the Dioder double tape in 9 pieces to you can connect the Magiker cap and the Dioder main board.
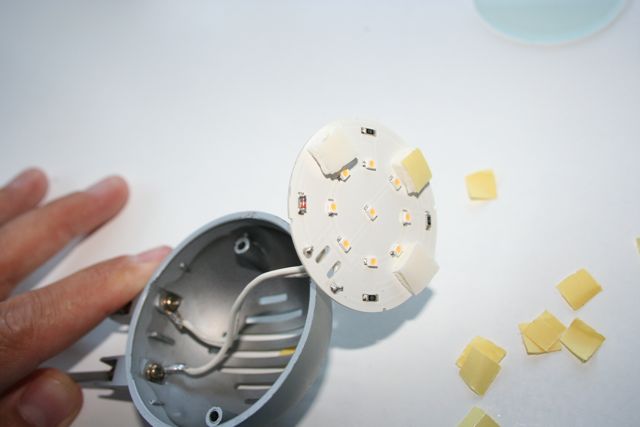 Place the double sided tape on the glass side of the Magiker cap. 3 pieces on top of each other should be high enough.
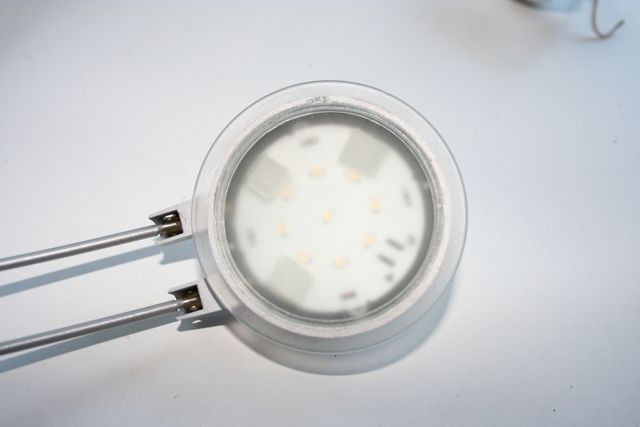 Place the glass back into the cap and put the plastic ring back on.
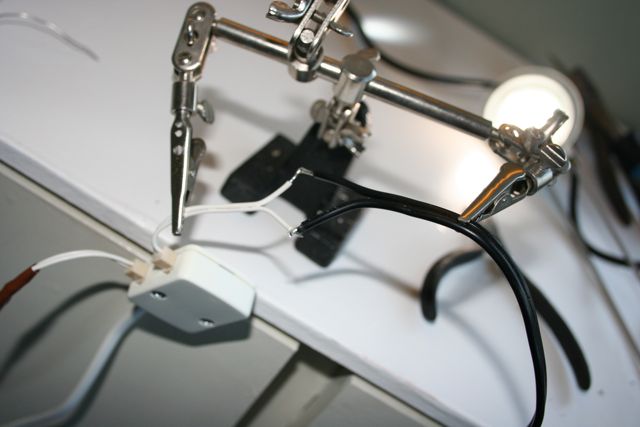 Put the Dioder connector on the Magiker cord. Word of caution here. You have to check to poles because the LEDS used in Dioder work like diodes, hence the name. You either to this when you screw the new main board into the cap or you do it when you connect the Dioder connector to the Magiker cord.
The end result
And this is the end result:
 Hello Magioder!
Project facts and energy usage
So the lamps work again but there is another advantage.
Dioder details
- Energy usage: 8,0 W
- Average lifespan: 30.000
- Price: €30,-
Magiker details
- Energy usage: 20,0 W (per lamp)
- Average lifespan: 1.500
- Price: Not available anymore
Average usage
Our lamps burns an average of 4h a day, so we need new lamps every year. Dioder wil last 20 years. The energy usage of Magiker will be 20w x 3 = 87.9 kWh a year which translates to about € 17,58 a year at the current energy prices. The halogen lamps itself are € 0,75 /lamp, but I would still need two new adapters for Magiker which are not available anymore.
Dioder will use 11.7 kWh which is about € 2.34 a year and there are the costs of buying Dioder (€ 30,-).
Lets say I would have been able to repair the Magiker adapters and we would have used them for another 5 years. The TCO would have been around € 100,-. The new Magioder lamp will have a TCO of € 42,- which includes buying Dioder. Thats 50% less and it is better for the environment. What more do you want from a nice project.
Some final words
It took about 2 to 3 hours building Magioder. The light is more white than it looks in the pictures. Dioder is also available with leds that can produce seven colours. It will cost you an extra € 20,- . Dioder comes with 4 lamps by default. I only used three. Good luck building your Magioder!
Meer verhalen lezen?
In de afgelopen jaren hebben we veel geschreven over ondernemen, zelfsturend werken, de handigste tools en nog veel meer. Dus leef je uit!
Ga naar het blogoverzicht